
Download Light Suite - Photo Editor for PC
- Language: русский
- file size: 3.82 MB
- Compatibility: Requires Windows XP, Vista, 7, 8, Windows 10 and Windows 11
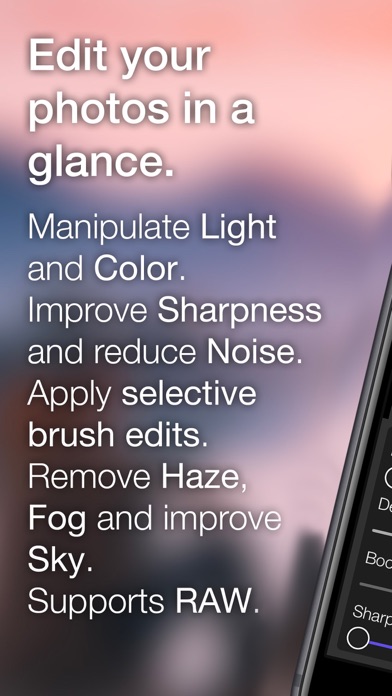
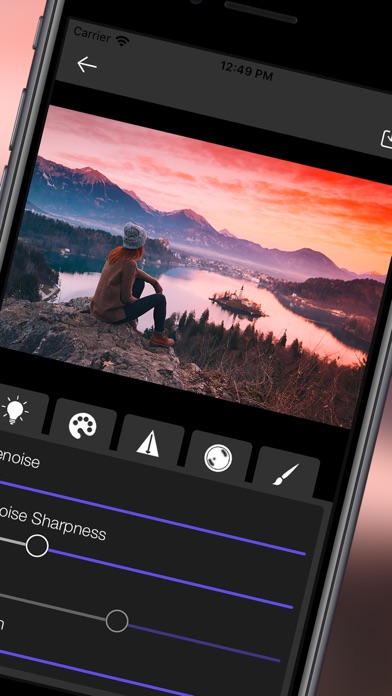
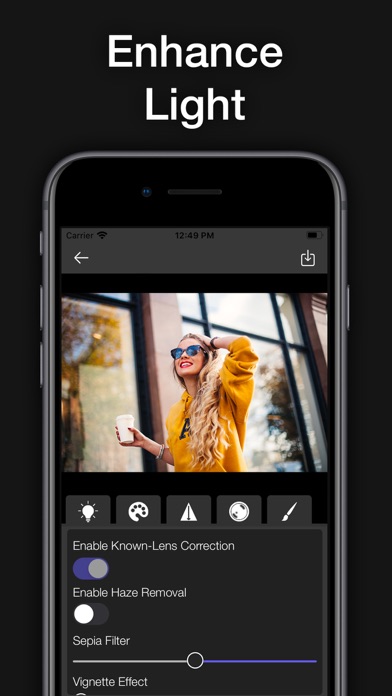
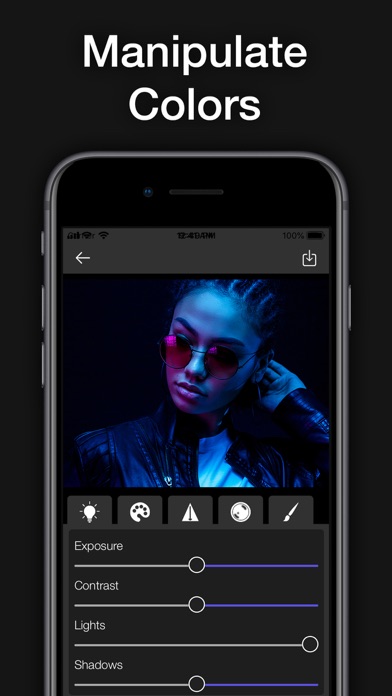
Main Features: • Edit Light: Exposure, Contrast, Highlights, Shadows, Whites and Blacks; • Color Edits: Saturation, Vibrance, Hue and Temperature; • Intelligent Haze and Fog removal Filter; • RAW file support (such as Nikon NEF, Canon CR2, Sony ARW,...
Not Satisfied? Follow the guide below to use APK on PC (via Emulator):
Get a Compatible APK below:
| Download | Developer | Ratings | Reviews |
|---|---|---|---|
|
Lightroom Photo & Video Editor ✔ Download Playstore download → |
Adobe | 4.5 | 2048537 |
| ON1 Photo RAW for Mobile Download Playstore download → |
ON1, Inc. | 4.4 | 3493 |
Now follow the tutorial below to use the Light Suite - Photo Editor APK on your computer.
Getting Light Suite - Photo Editor to work on your computer is easy. You definitely need to pay attention to the steps listed below. We will help you download and install Light Suite - Photo Editor on your computer in 4 simple steps below:
The emulator simulates/emulates an Android device on your computer, making it easy to install and run Android apps from the comfort of your PC. To get started, you can choose one of the following applications:
i. Nox App .
ii. Bluestacks .
I recommend Bluestacks as it is very popular in many online tutorials
If you have successfully downloaded Bluestacks.exe or Nox.exe, go to the Downloads folder on your computer or wherever you usually store downloaded files.
Once installed, open the emulator app and type Light Suite - Photo Editor in the search bar. Now click Search. You will easily see the desired application. Press here. This will show Light Suite - Photo Editor in your emulator software. Click the Install button and your app will start installing. To use the app, do this:
You will see the All Apps icon.
Click to go to a page containing all your installed applications.
You will see an app icon. Click to start using your application. You can start using Light Suite - Photo Editor for PC!
Light Suite - Photo Editor is developed by GENOVA Softworks, Inc.. This site is not directly related to the developers. All trademarks, registered trademarks, product names and company names or logos mentioned herein are the property of their respective owners.
Pocket Telemeter Range Finder

Disco Music Strobe Light

Camera Effects - 25+ Filters

Multiplication Tables Game

Pin Game - Pinball Bowling

Triangulated!: Space Runner Remastered

Motion Alarm Anti Theft Device
SLR Pro Camera Manual controls

iDashboard Acceleration Speed and HUD for Car

RCON Game Server Admin Manager
